My journey deeper into the RepRap 3d printers is continuing at a pace. This is good as it is about 14 years since I “quite fancied getting one” but didn’t have a spare £200,000 and the company I worked for couldn’t quite see the point, which at the time was fair enough.
It was in 2006 when I nearly spent a few thousand on one, but bought Second Life islands instead.
Now it is all merging, as predicted. The 3d design of virtual worlds and the tools around those provide a great distribution mechanism for content to be printed. It’s not all completely straightforward but in this Maker Culture we only need a few bits that hook together to put a workable solution in place for most things.
After doing the 3d printing piece on Cool Stuff Collective I said to Malcolm Napier I was up for joining in his Thames Valley RepRap User Group (TVRRUG) as they were gathering a group of people to mass buy and tweak the RepRap Prusa model. The cost of this being well below any other way of doing this, in the hundreds. Whilst its a bit of a trek to go to the meetings (part of this is about socialising the tech) there are plenty of online ways to share. That of course is the point and where being a metaverse evangelist fits in.
I picked up the first parts of the kit from Malcolm last Friday. Then spent a few nights with spanners, youtube and a hammer putting together the first part of the kit. I am primarily a software person, mechanical engineering has never been my strong point, though electronics, soldering etc is or was. So I figured that if I applied myself and got the right tools, with the support of TVRRUG I would be able to make this work.
So it started as a cardboard box of bits. The main structural pieces are metal rods, joints, angles and moving parts have been printed on a reprap (which is the point of the design to self replicate)
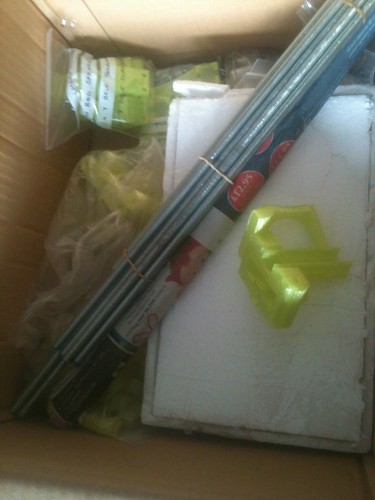
Its gives you a bit of a oh heck where do I start moment as you unbox.
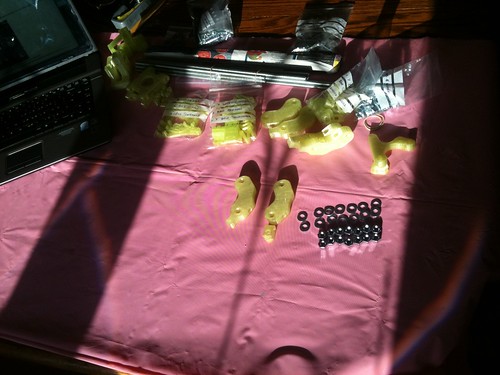
However, the prusa video explanations get you going very quickly. The fixed camera position and clear audio really helps. There is text to read and fall back to but I found the audio and visual worked just fine.
Once the first parts went together…. we were away
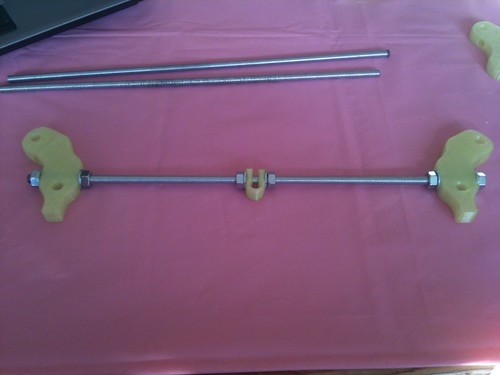
The end triangular structure soon took shape
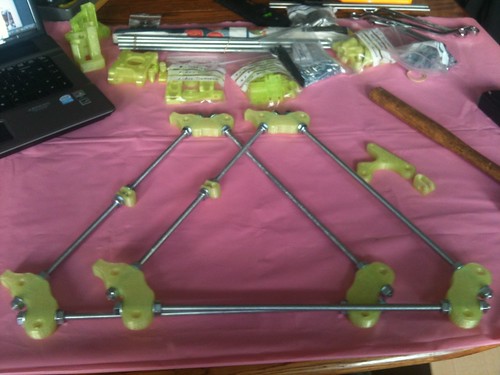
Bearings and motor holders attached to cross beams, washers all over the place
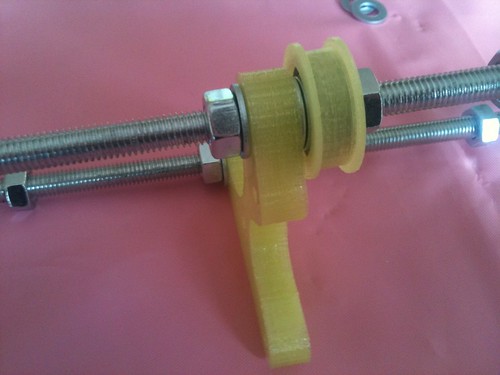
Next the frame started to take its tentative steps to standing upright.
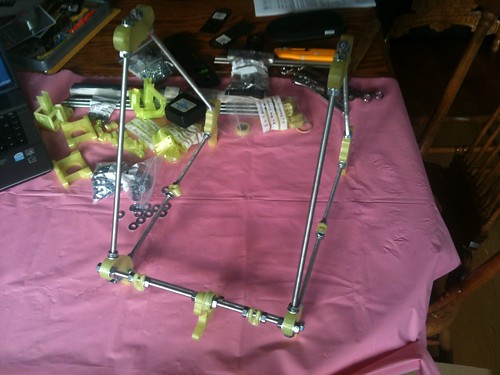
By this stage I realised (and was also being told by the instructions) that getting the measurements correct and squaring off the frame was very important.
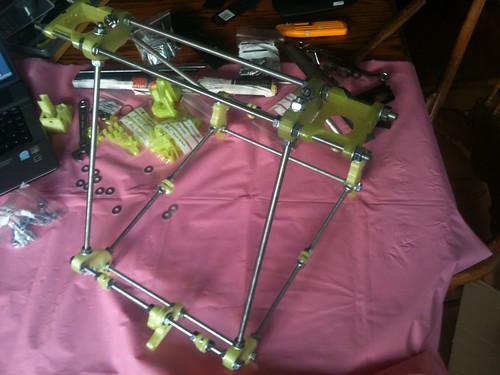
It is around this time my software mind thinks… we can get the basics going and revisit performance and tweak it later, but instead an engineering mind thought, for once, no! get the tools measure it properly with verniers callipers and make this thing work as close as possible, and keep revisiting this as bits are added.
(There are two types of good software developer. The precise engineer who builds exactly to spec, very much needed skill and the other sort that builds for flexibility, using the spec as a guideline. Both skills complement one another and you have to know when to do each. I am not suggesting software is a giant bodge, though in many case it may well be)
Having got the frame it was then very exciting to put on the plywood moving platform which has tube bearings. It is here that using tool to make it as accurate as possible (i.e. not a quick look with a tape measure) seems to have paid off. I did have to have a couple of goes and strip this bit down but now have a relatively smooth running platform.

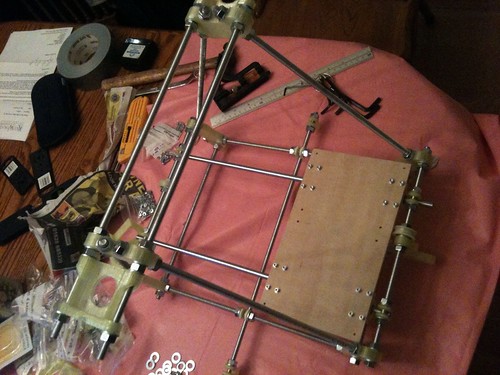
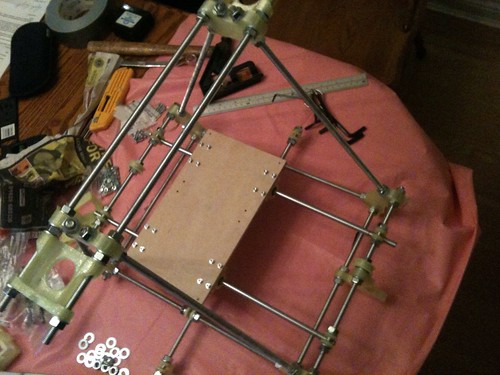
By this time I was on the specific instructions by TVRRUG as we have a slightly wider machine and some parts have been modified, which is the nature of all open source development including mechanical ones.
Last night was the final pieces of this bit of jigsaw with the vertical drive stepper motors the the rods that that lift up and down
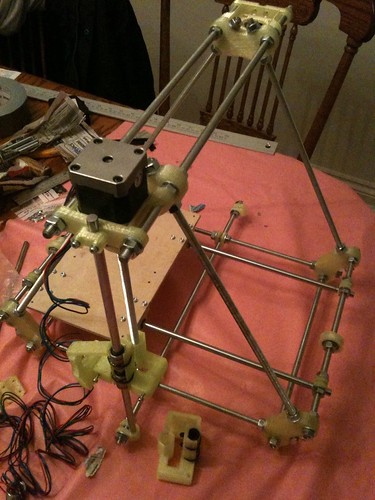
There was a tiny bit of adjustment needed again to make sure things were squared off and equal as putting the final rods for the x axis showed there was a millimetre or so of pushing needed to get the last screw in place. However I think the care in the early stages paid off. I may still have to get more accurate but it feels right, looks right and doesn’t wobble 🙂

So there is it, ready and waiting for the user groups next batch of pieces. Having built one to this stage it would make building another considerably easier.
As with all these things it is good to doing things, to be hands on and not just talk about them. Of course there is a way to go yet but I hope in the not too distant future I can start exploring some of the ways we get things to print. After all I have the haptic device, virtual worlds, minecraft etc all generating the right content.
So I will become a fully fledged fabricaneur. Making things as a business.
Whilst on the subject of 3d printing I also popped along to the Aram Gallery 110 Drury lane. A furniture shop that has a 3d printing exhibition running for a few weeks on its 3rd floor. This is called Send to Print / Print to Send
It had all sorts of examples of 3d printing. It was interesting hearing the comments of some of the other visitors as they tried to figure out the impact of all this. I tried not to dive into the conversations and enthuse at them 🙂
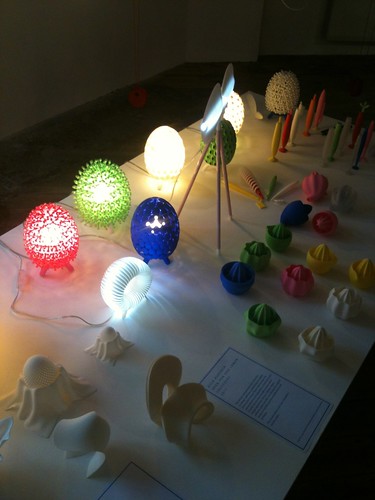

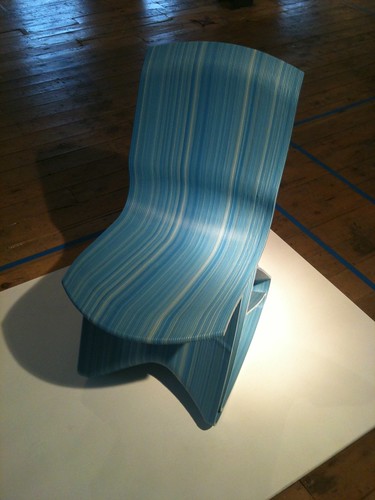
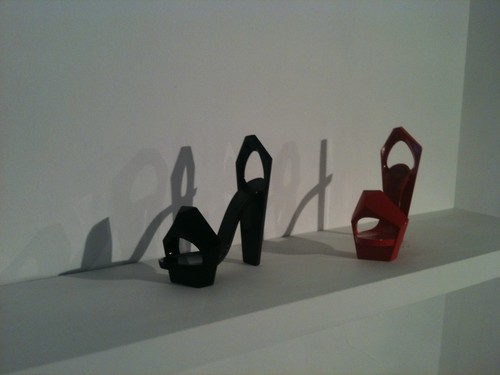
The full set of pictures is here
I was really pleased to see the examples of solar sintering there form the self contained desert machine by Markus Kayser

His video of this experimental art form was going down rather well earlier in the year.
The gallery was showing a number of videos including this one of the work.
They also had a fully completed reprap there, a slightly different model to mine but great to see one close up again and take the time to look at it, with a more experience eye onto its construction.


so ePredator becomes ePrintador ?!
Or maybe ereprapredator 🙂